
.svg)
Behind the Lens — Editing A Jaguar

🐆 Behind the Lens — Editing This Image
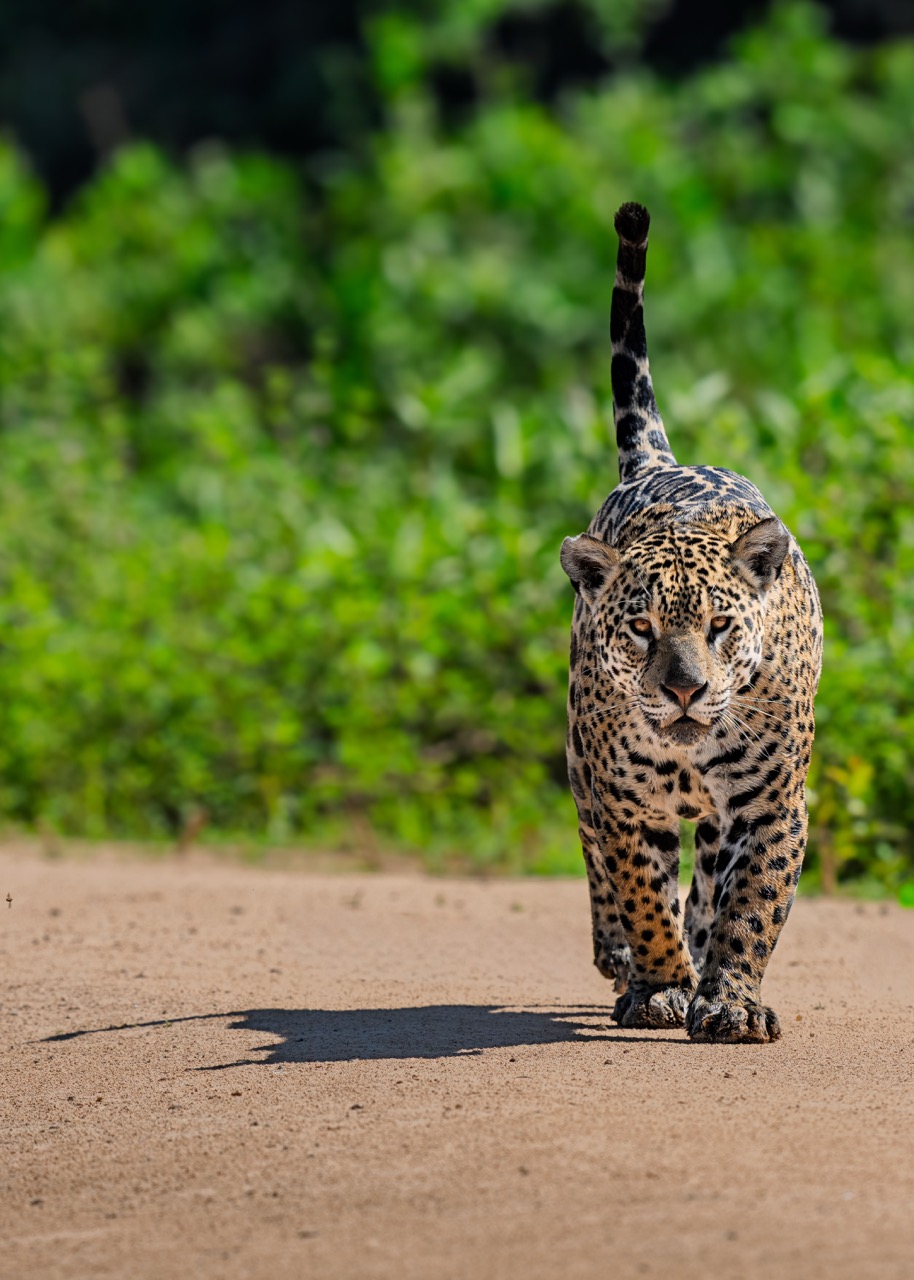
1. Crop
First thing: crop.
For this image, I went 5:4. It works better on Instagram than 1:1 because it takes up more screen space and generally performs better.
The crop was done so:
- the jaguar has space to walk into
- the shadow stays fully in frame
The shadow is important. Cut it and the image loses balance.
If this were for website use, I’d crop looser to give the frame more breathing room.
If this were for print, I’d keep a wider crop and only commit once I know the final size, making sure the file holds 300 DPI at print dimensions.
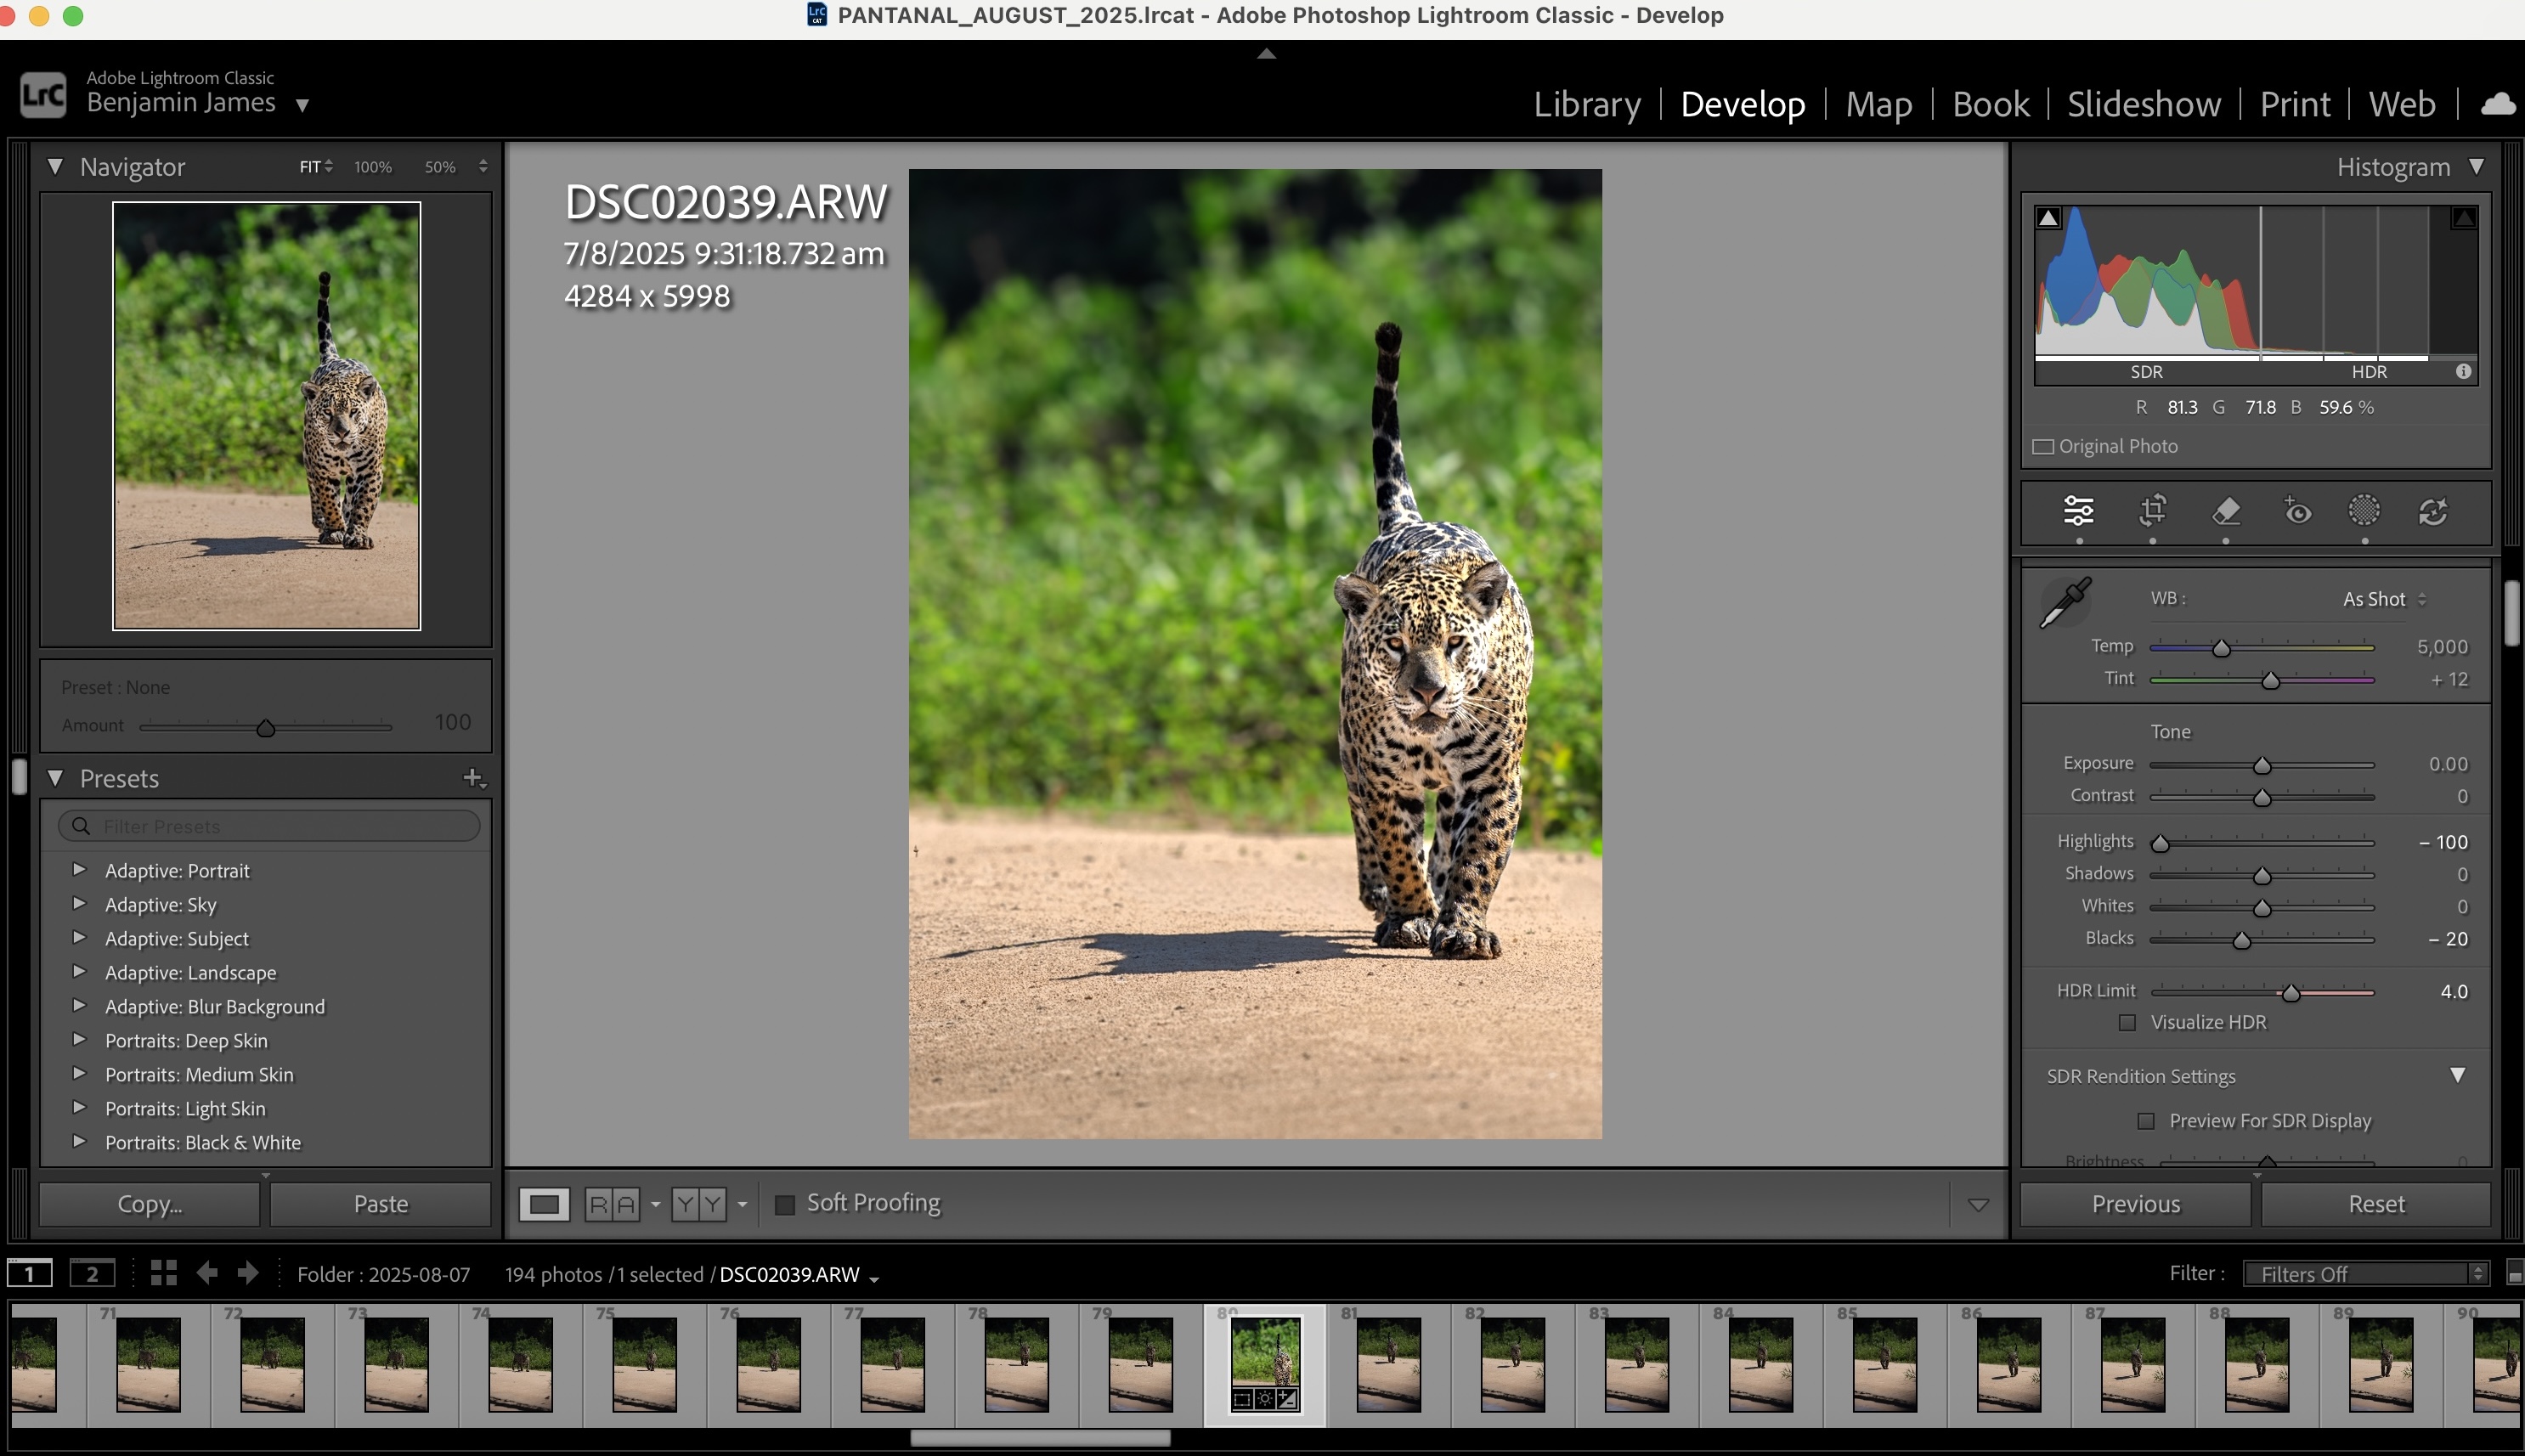
2. Basic Adjustments
Next, light global adjustments only.
At this stage, I:
- lifted the shadows slightly
- pulled down the highlights
No colour work yet. No contrast push. Exposure mostly untouched.
This step is just about cleaning the file, not finishing it.
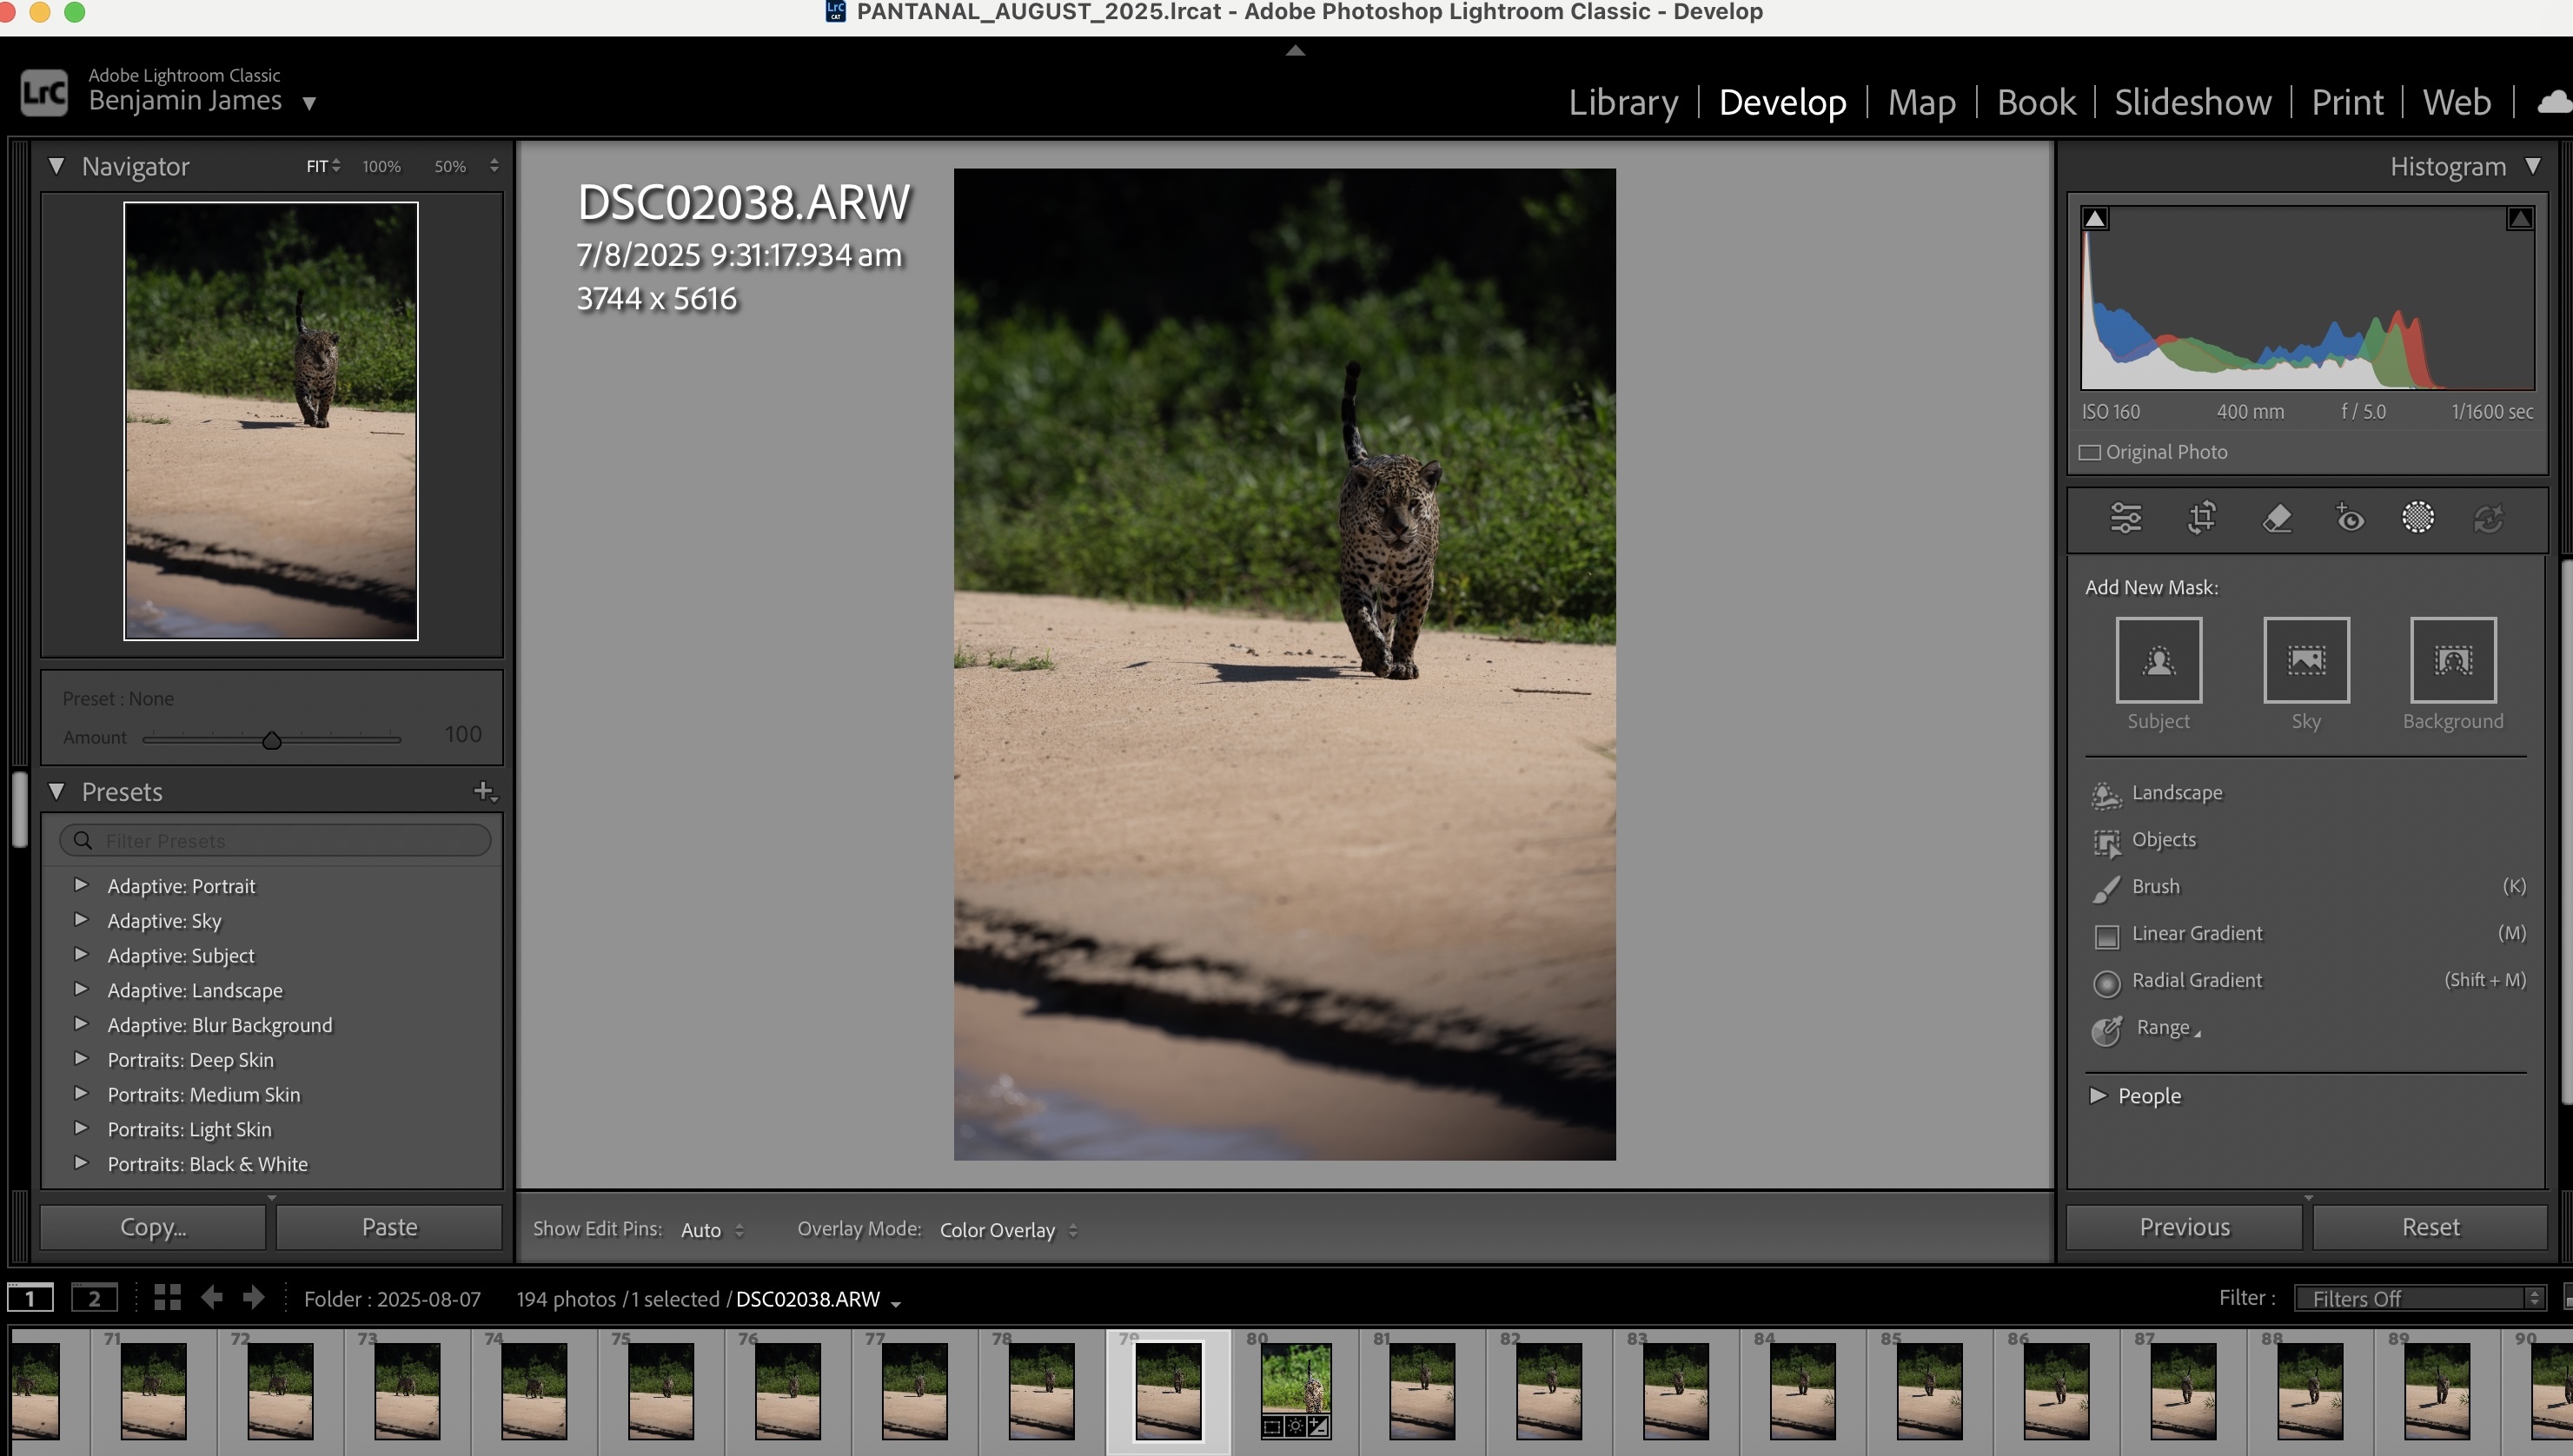
3. Subject Mask (Most Important)
In the original image, the jaguar was slightly underexposed.
This is where the edit actually happens.
I masked the jaguar and refined it around the head and eyes, then:
- lifted exposure
- added just enough clarity to separate her from the background
The goal is to guide the viewer’s eye — nothing more.
4. Background Control
In the original, the sand was too bright and pulled attention away from the jaguar.
So I:
- lowered exposure on the sand
- reduced highlights
- added a bit of texture
The background should support the subject, not compete with it.
5. Final Check
Last pass:
- make sure the brightest point is still the face
- check edges and balance
- stop before it looks “edited”
That’s the full process. No presets. No heavy-handed sliders.
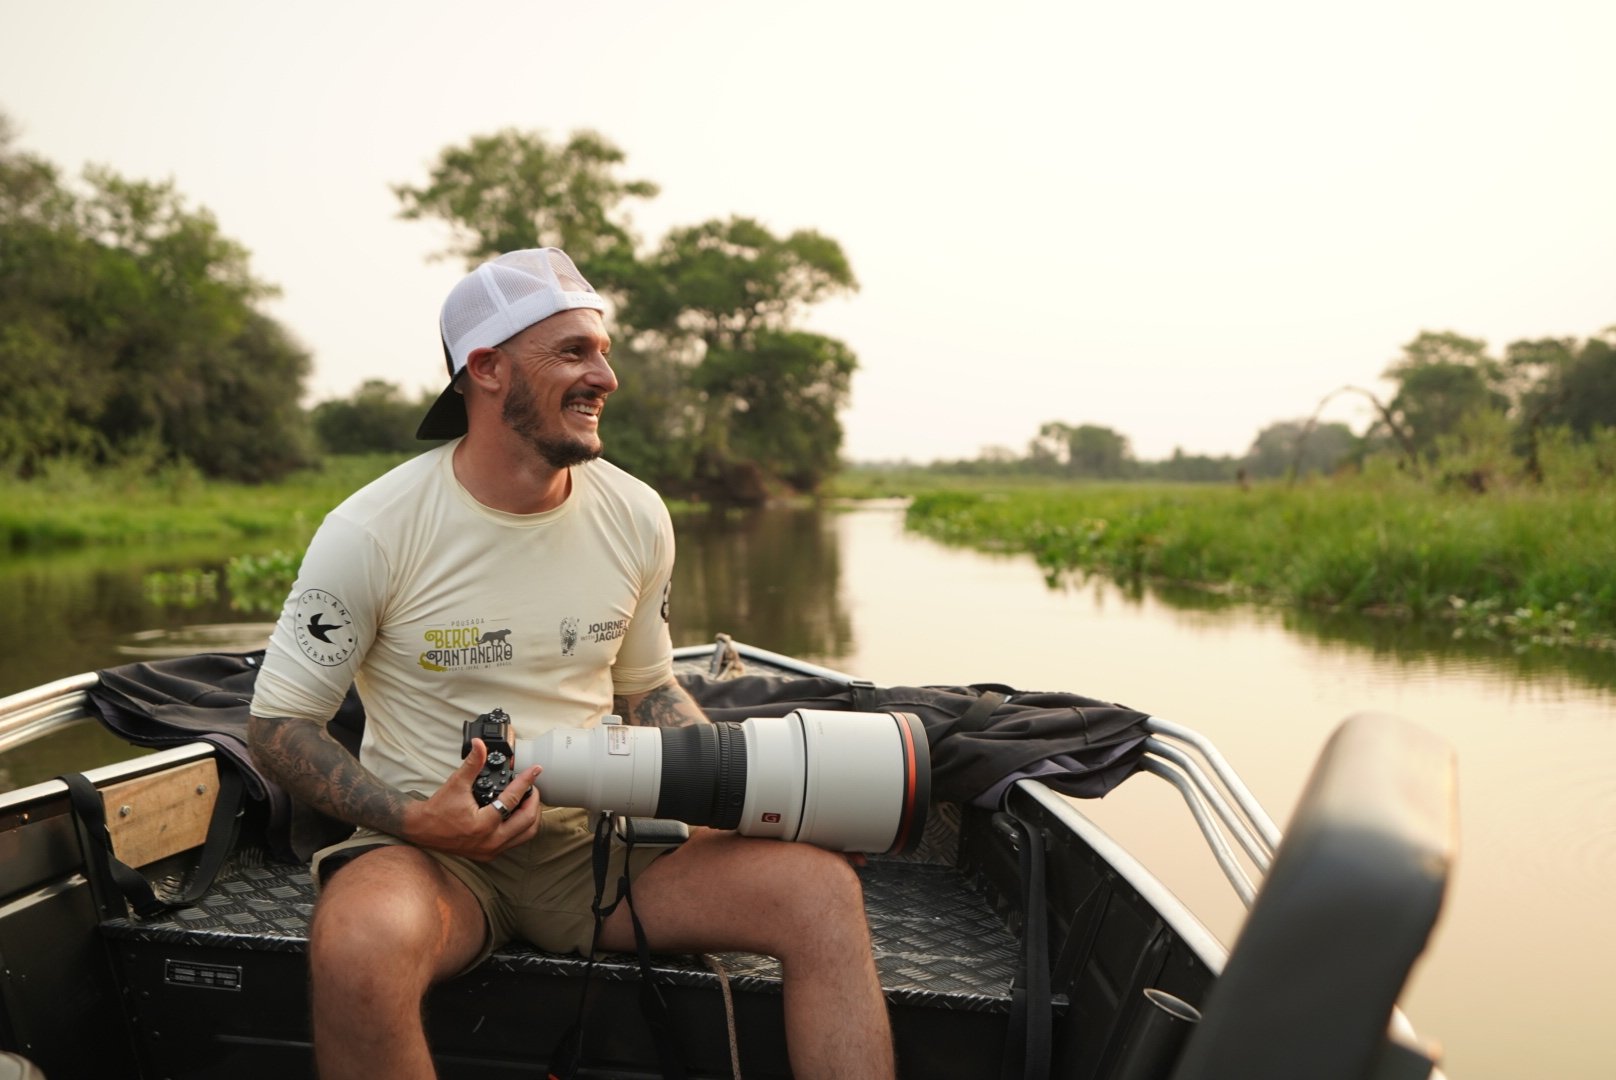
Ex-professional athlete turned wildlife photographer and expedition leader Benjamin James now dedicates his life to capturing and protecting the natural world. He leads immersive wildlife expeditions through his company Journey With Jaguars, bringing adventure-driven guests face-to-face with one of the planet’s most elusive big cats.
Benjamin was a freelance videographer for The Wild Immersion and is affiliated with several environmental NGOs. He is the director of CLIC, a nonprofit that installs solar-powered medical clinics in remote Indigenous communities in Colombia — bridging conservation, culture, and health.
His mission is simple: connect people to wild places, and make sure those places still exist for future generations.
.png)
Step into the wild
Exclusive trip updates, rare jaguar stories, and insider photography tips - straight to your inbox!